Callus removal at home requires a balance of patience and the right technique to avoid irritating the skin. I have seen many people make the mistake of trying to shave off hard skin quickly, only to end up with sore feet or infections. The goal is not to remove every single bit of hard skin in one session, but to gradually thin the callus until your feet feel soft again.
Understanding Why Calluses Form
Before we get into the process of how to remove calluses feet, it is important to understand why they happen. A callus is essentially your body’s defense mechanism. When your skin experiences repeated friction or pressure—like from tight shoes or the way you walk—the skin thickens to protect the underlying tissue from blistering.
Common areas where these build up include the heels, the balls of the feet, and the sides of the big toe. While they aren’t usually painful, they can become unsightly or crack, leading to deep fissures that can be quite uncomfortable. Proper callus care is about managing this buildup without stripping the skin’s natural protection.


The Essential Toolkit for Home Care
You don’t need expensive machinery to get professional results, but you do need the right tools. I recommend avoiding disposable “cheese grater” style rasps, as these can be too aggressive and create uneven surfaces on the skin.
- Pumice Stone: A natural volcanic rock that is excellent for gentle exfoliation.
- Foot File: A handheld tool with a grit surface; look for ones that have different levels of coarseness.
- Warm Water and Epsom Salts: To soften the keratinized skin.
- Rich Moisturizer: Urea-based creams or thick shea butter are ideal for locking in moisture.
- Soft Washcloth: For cleaning the area after exfoliation.
Step-by-Step Process for Callus Removal at Home
If you want smooth feet, you have to follow a sequence. Skipping the softening phase is the most common error people make, which often leads to skin tearing.
Step 1: The Deep Soak
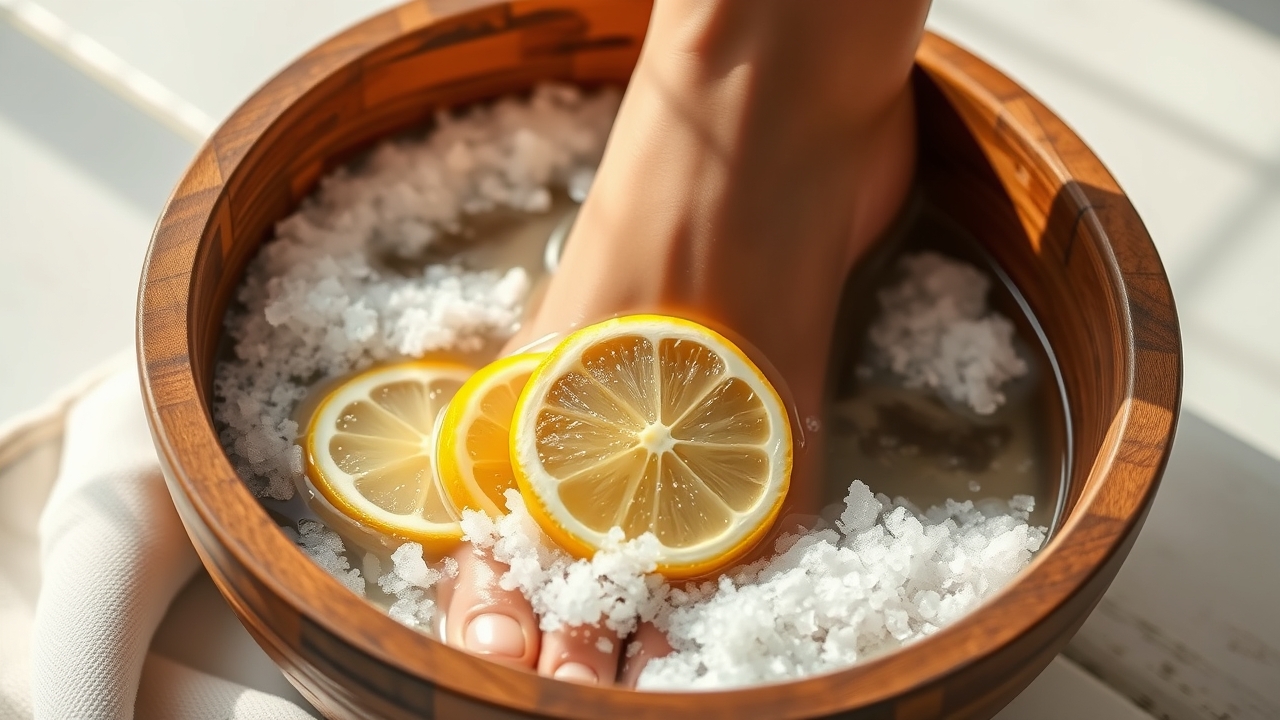
Start by soaking your feet in warm (not hot) water for 15 to 20 minutes. I suggest adding a handful of Epsom salts or a few drops of mild oil. The water penetrates the hard layers of the callus, making the dead skin more pliable. If you rush this part, you’ll find that the pumice stone just slides over the surface without actually removing anything.
Step 2: Gentle Exfoliation
Once the skin is soft and slightly pruned, pat your feet dry with a towel so they are damp but not dripping. Use your pumice stone or foot file in a gentle, circular motion. Focus on the thickest parts of the callus. I always tell my clients to work in small sections. If you feel any sensitivity or pain, stop immediately. You are only trying to remove the topmost layer of dead skin.
Step 3: Rinsing and Assessing
Rinse your feet with lukewarm water to clear away the loosened skin cells. This is the time to check your progress. If the skin still feels very hard, you can do another light round of filing, but never over-file. Over-filing can trigger the body to produce more skin to protect the area, which defeats the purpose of your effort.
Step 4: Intensive Hydration
This is the most critical step for long-term success. Apply a thick layer of moisturizer while the skin is still slightly damp. Look for ingredients like lactic acid or urea, which help break down the protein in the callus. For an extra boost, put on a pair of clean cotton socks immediately after moisturizing and wear them overnight. This creates a seal that forces the moisture into the skin.
Advanced Foot Callus Tips for Long-Term Smoothness
Maintaining your results is much easier than fixing a severe callus. If you only treat your feet once a month, you’ll be fighting an uphill battle. Instead, incorporate these habits into your weekly routine.
Daily Moisturizing
Make it a habit to apply lotion to your heels every single night. Even if you don’t see a callus, keeping the skin supple prevents the friction from creating a hard layer in the first place. I prefer using a cream that is specifically formulated for feet, as these are usually denser than hand lotions.
Footwear Audit
Check your shoes for wear and tear. If the soles are worn down in specific spots, they may be contributing to the pressure on your feet. Ensure your shoes have a wide enough toe box; squeezing your toes together is a fast track to developing calluses on the sides of your feet. If you spend all day on your feet, consider investing in cushioned inserts.
Hydration from Within
Dry skin isn’t just about what you put on top of it. Drinking enough water helps maintain the elasticity of your skin. When you are dehydrated, your skin becomes more prone to cracking, which makes calluses more likely to become painful fissures.
When to Seek Professional Help
While callus removal at home is safe for most, there are times when you should put the pumice stone down and visit a professional. If you have diabetes, poor circulation, or a compromised immune system, you should never attempt to remove calluses yourself. The risk of a small nick turning into a serious ulcer is too high.
Additionally, if you notice a callus that is bleeding, leaking fluid, or showing signs of inflammation (redness and warmth), it is time to see a podiatrist. For those who want a more luxurious and thorough treatment without the risks of DIY surgery, visiting a professional nail and massage spa can provide a safe environment for deep exfoliation and skin rejuvenation.
Common Mistakes to Avoid
I have seen a lot of “home hacks” online that are actually dangerous. To keep your feet healthy, avoid these common pitfalls:
- Using Razors or Scissors: Never use a blade to cut away a callus. You cannot see exactly how deep you are cutting, and a single slip can lead to a deep wound that takes weeks to heal.
- Over-scrubbing: Scrubbing until the skin is pink or raw does not mean you are succeeding; it means you are damaging the living tissue.
- Ignoring the Gaps: Don’t forget the areas between the toes or the sides of the heels. Calluses often wrap around the edges, and ignoring these spots can lead to uneven skin texture.
- Using Harsh Chemicals: Be wary of “callus remover” liquids that contain high concentrations of salicylic acid if you have sensitive skin. These can cause chemical burns if left on too long.
Customizing Your Routine by Callus Type
Not all calluses are created equal. Depending on where they are and how hard they are, you might need to adjust your approach.
The “Rock Hard” Heel
For those extremely thick heels that feel like stone, a simple soak might not be enough. I recommend a “double soak” method. Soak for 15 minutes, apply a urea-based cream, wrap the heel in plastic wrap for an hour, and then soak again for 10 minutes before filing. This softens the core of the callus more effectively.
The Toe-Top Callus
Calluses on the tops of the toes are often caused by shoes that are too tight. Because the skin here is thinner than on the heel, use a very fine-grit file. Be extremely gentle, as the bone is very close to the surface in this area.
The Ball-of-Foot Pad
These are usually the result of your gait or weight distribution. Since this area bears the most weight, these calluses tend to return quickly. Focus on daily hydration and consider using silicone pads in your shoes to reduce the pressure while you work on removing the dead skin.
The Role of Massage in Foot Health
Massage isn’t just for relaxation; it plays a role in skin health. When you massage your feet, you increase blood flow to the area. Better circulation means more nutrients reach the skin cells, which can help the skin heal and regenerate more efficiently after you’ve performed callus removal at home.
Try using a tennis ball or a specialized foot roller. Place the ball under the arch of your foot and roll it back and forth with moderate pressure. This loosens the fascia and helps distribute the pressure more evenly across the sole of your foot, potentially reducing the formation of new calluses over time.
Summary Checklist for Smooth Feet
To make this easy to remember, here is a quick summary of the routine:
- Soak feet in warm water and salts for 20 minutes.
- Pat dry and use a pumice stone in circular motions.
- Rinse and check for remaining rough patches.
- Apply a thick, urea-based moisturizer.
- Wear cotton socks overnight.
- Repeat the exfoliation process once a week.
- Audit your footwear for friction points.
Frequently Asked Questions
How often should I do callus removal at home?
For most people, once a week is sufficient. Over-exfoliating can strip the skin’s natural barrier and cause it to react by producing even thicker calluses. Consistency is more important than intensity.
Can I use a pumice stone on dry skin?
While some “dry filing” tools exist, I generally advise against it for beginners. Filing dry skin can lead to jagged edges and micro-tears in the skin. Soaking first ensures the dead skin lifts away cleanly.
What is the best moisturizer for removing calluses?
Look for creams containing urea, salicylic acid, or lactic acid. These are keratolytic agents, meaning they actually help break down the protein (keratin) that makes up the callus, making your manual removal efforts much more effective.
Why do my calluses keep coming back?
Calluses are a response to pressure. If you don’t change the source of the friction—such as wearing better shoes or correcting your posture—your body will continue to build up skin to protect itself. Focus on both removal and prevention.
Is it safe to use chemical callus removers?
They can be effective, but they must be used with extreme caution. Always follow the timing instructions exactly, and avoid letting the chemical touch the healthy skin surrounding the callus. If you have sensitive skin, stick to manual exfoliation with a pumice stone.
Leave a Reply